Wow! I received so many questions yesterday about how to hand tie a quilt and how I get my quilts to look so puffy. Soooo.....ask and ye shall receive! Here's my method for hand tying a quilt and making it super fluffy. And fortunately it's pretty easy to do!
I use high loft batting for my hand tied quilts. I sandwich it just like I would any other quilt. I lay the backing down (wrong side up), lay the batting on top and lay my quilt top on top of that (right side up of course). I pin it with lots and lots of large curved safety pins. I usually pin about 5" apart.
These are the tools I use to hand tie my quilts. Size 8 Crewel Needles, Perle Cotton (size 8) and hemostats. You can also use curved needles but I've found that I prefer working with a regular old straight needle and that's what I'll be talking about today. You can also use 6 strand embroidery floss or crochet thread. I've even heard of people using very narrow ribbon to tie quilts!
The first step in hand tying a quilt is to move your ridiculously cute cat from the quilt for 5 minutes and convince her not to run off with the needle and thread.....
To start a tie, you'll want to have one hand under the quilt pinching the three layers of the quilt together in the area that you are tying. I put my needle in at a 45 degree angle in the OPPOSITE direction that I want the needle to go. I don't go straight down. I do this so I can get a big enough "bite" of the backing. You're going through a lot of thickness and if you just try to go straight down or angle it in the direction that you'll be pushing the needle you won't get enough backing or you might miss the backing completely. In the photo below I'm angling the needle to the right but I will be pushing it to the left once it's through all three layers.

Once you've pushed your needle through all three layers you'll "rock" or swing your needle to the left and push your needle through. I usually try to make my "bites" about 3/8" on the front but they end up being about 1/4" on the back because I'm going through a lot of layers. Pull your thread through and leave about a 1 to 1 1/2" tail of thread.
Next up you'll tie a surgeons knot. This is where the hemostats come in. If you don't have some I HIGHLY recommend you get a pair. They are awesome for all sorts of sewing and crafting projects. You'll start on the long side of the thread. Not the side with the little tail. Lay your hemostats down on top of the thread.
And wrap the thread around the hemostats TWICE. Two full wraps.
Then grab the tail end of the thread with the hemostats.
And pull the tail end of the thread through those two wraps on the end of the hemostats. You'll gently slide those two wraps down the hemostat as you pull the tail end through.
Pull it tight. You've just created ONE throw which is HALF of a knot. ONE knot has TWO throws.
Now, you'll repeat the process but you'll only do ONE thread wrap around the hemostats before you grab the tail end of the thread. You'll be working from the other side of your knot as you make your second throw because that is where the long end of the thread is now. After you make the second throw you'll have a nice, tight secure knot. Then you'll want to do TWO more throws with one wrap each to create a second full knot.
To summarize: First throw has two wraps. Then three more throws with one wrap each. This gives you two full, secure knots. You always use the long end of the thread to wrap around the hemostats and you always grab the short tail end.
Then I cut the threads to be about 1 cm long.
I usually do my ties no more than 2-3" apart. And I kind of let the design of the quilt tell me where the ties should go. I love putting ties in the corners of the blocks and in the middle and along the seams. And yes, you can tie knots in seams, corners or in the middle of blocks. Wherever you like. Just do what looks good to you.
And that is how you get a super puffy looking quilt!
O.K. I hope I explained everything o.k. and that the pictures weren't too blurry. I wish I could have had Col. Sew Fab take the pictures and proofread this for me to make sure it makes sense but for some reason he thinks his job of helping to defend the country is more important than hand tying quilts! What's up with that?! (You know I'm totally kidding, right?).
Anyway, please let me know if you have any questions. It's pretty easy to get the hang of making hand ties with a little practice and it's such a great project to work on while sitting in front of the t.v. and sipping on some tea or wine!
Happy Sewing (and Tying),
Jenny
P.S. Someone asked me if this replaces machine or hand quilting and the answer is YES. You don't need to do additional hand or machine quilting on tied quilts. The ties ARE the quilting.
 Hello all you wonderful people out there in blog world! Remember when I told you that I still sew? That I do things other than talk about my pets? Well.....now I can prove it! I'm sooooo excited to finally be able to show you this project. I made this quilt for a friend of mine who's fighting Ovarian Cancer right now. And she's only 33 yrs young! Cancer is really getting on my last nerve these days! (Take a peek at this post if you don't know why I'm so annoyed with stupid cancer!) Anyway, I came up with the idea to send a square of white fabric to each of Jami's family and friends, have them draw a picture with crayons and then I sewed it into a quilt.
 The response was amazing! I ended up with about 75 squares so I was able to make a HUGE quilt. And I'm seriously stunned by what people were able to do with crayons. Look at these - they're amazing!
 And this gorgeous painted pony.....
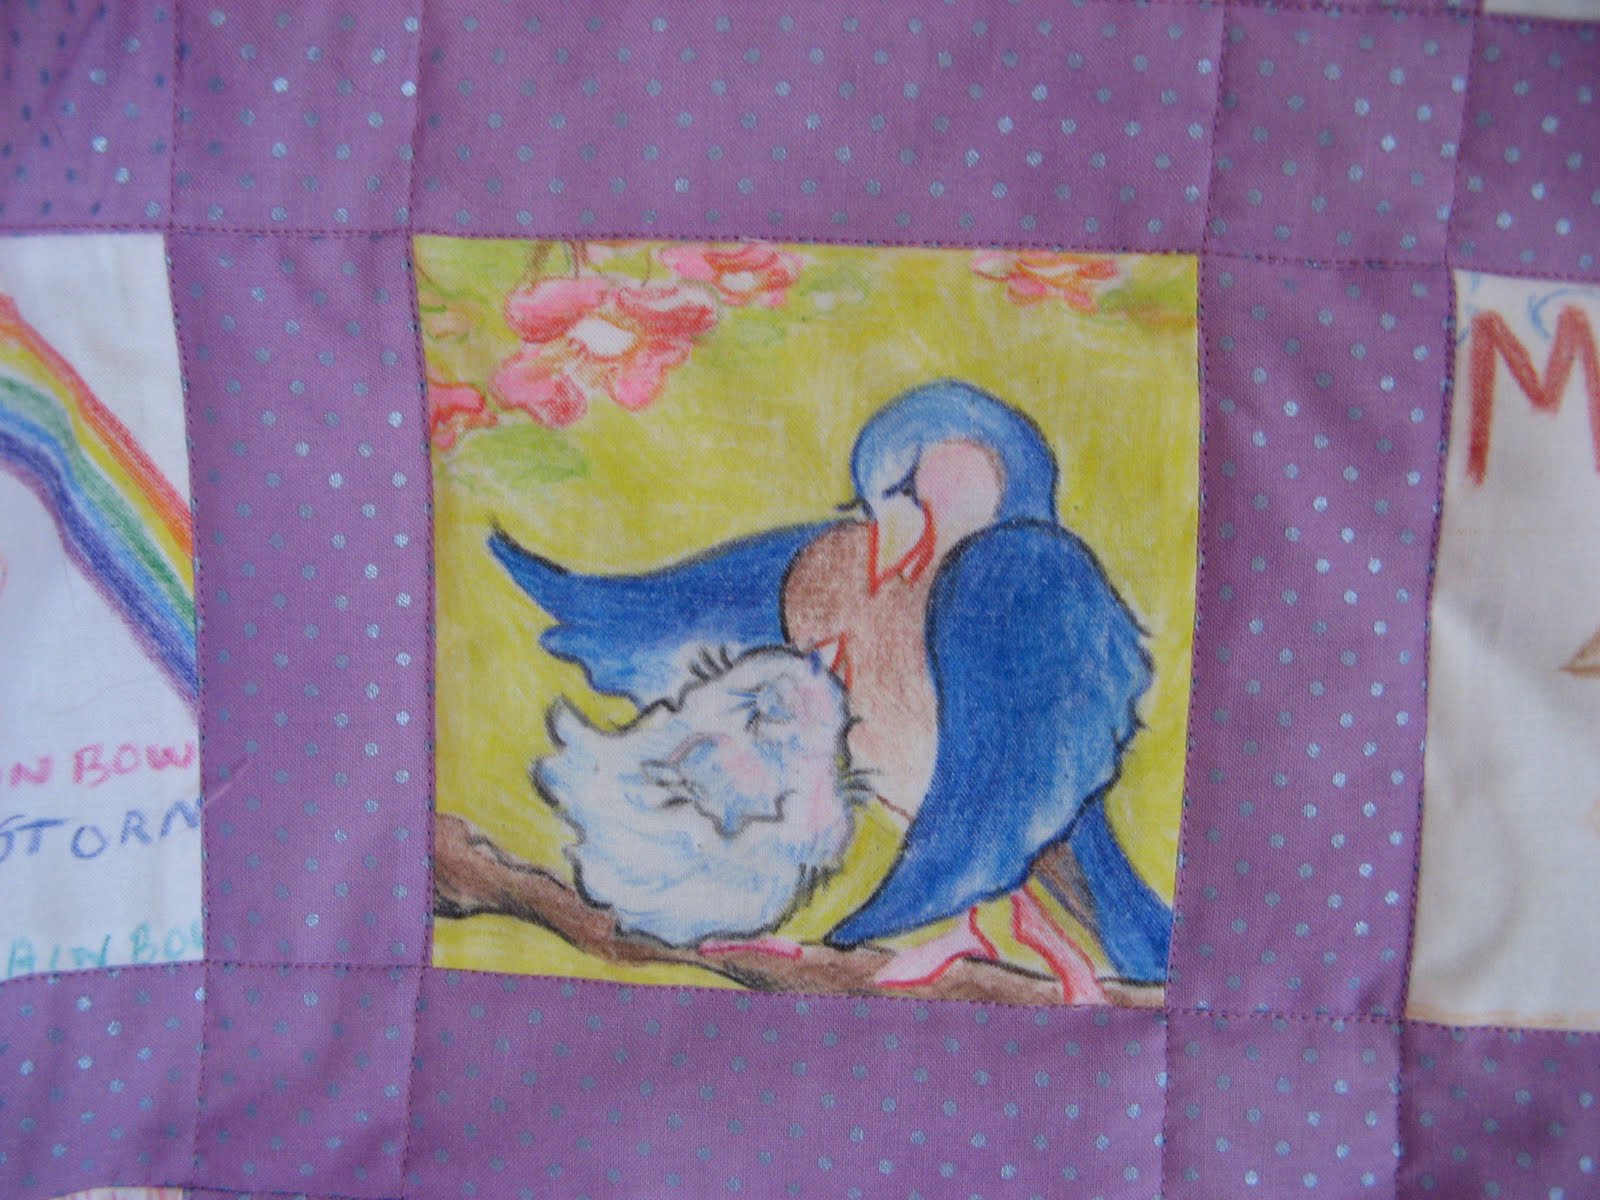
 And this sweet mama and baby bird.....
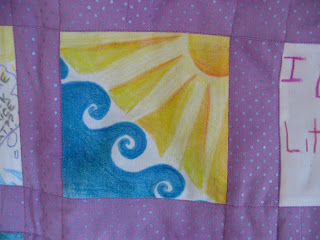
 And this beautiful ocean scene was done by a very talented 14 yr old....
 And this adorable dog was done by a part-time artist.....
 Oh, and please know that my sewing isn't that crooked! Some weird camera angles and the way the quilt was draped made the squares look so wonky. Seriously. My seams were perfectly straight. Well.....maybe not perfectly straight.....but a lot straighter than they look in the close-up photos!
You'll see that I did a very simple, plain border. I had plans for a much fancier border. But, honestly, I just ran out of time. A few people were....hmmm.....shall we say a little late getting their squares back to me. And Jami's almost done with chemo and I obviously wanted to give her the quilt while she was still in the hospital. So a simple border was my only option.
And if you're wondering - Jami loves her quilt. I think it really showed her how many people she has who are cheering for her through this fight.
I also think this type of quilt would be a great idea for a new baby or a wedding or an anniversary or a landmark birthday. So, if you're interested in making one here's how I did it.....
-I used Moda Bella Solids Bleached White as my fabric. You'll get 24 squares out of each half yard of fabric. And I highly recommend you get twice as much fabric as you think you'll need. Hmmm.....some people might want a practice square......or two.....or three. I cut about 150 squares.....and about 75 made it back to me!
-While working in sections about the size of a fat quarter I ironed freezer paper to the fabric. Use a hot iron, no steam and apply the rough side of the freezer paper to the fabric. This temporarily adheres the paper to the fabric. The freezer paper makes it sooooo much easier to color with crayons on the fabric.
-Cut the fabric/paper into 5" squares. Lots and lots and lots of 5" squares.....
 -Tell everyone to color a picture using plain old Crayola Crayons. No special fabric crayons needed. And give everyone a deadline. And make sure that deadline is actually two weeks before you really, truly want the squares back!
-Now you have to heat set the crayon into the fabric. Remove the freezer paper if it hasn't already fallen off. A lot of the squares lost their freezer paper while they were being colored on. Place the square crayon side up on the ugly ironing board cover......
 (And yes, that's a margarita. Every quilt needs a margarita with a slice of lime!)
-Place a paper towel on top of the fabric crayon masterpiece. The paper towel will protect your iron and it will also help you know when the crayon is fully set (more on that in a moment!). Now, using a hot iron with no steam you will do your heat setting. Place the iron on the paper towel for about 15 seconds. Then, lift up the paper towel and you'll probably see a little bit of color has transferred to the paper towel. Move to a fresh section of paper towel and iron again. Keep doing this until no color is transferred to the paper towel. It took two passes for most of my squares. Some of the ones with a lot of dark, saturated colors took 3 passes.
 -Then I cut 1 1/2" sashing strips and put the quilt together. I also used the 1 1/2" sashing strips as my border. Again, I wish I would have had more time to make a fancier, prettier border. It took about 2 yds of fabric for the sashing, border and binding. And it took about 3 1/2 yds for the backing. Obviously, those fabric requirements are for a quilt that's about the same size as mine!
O.K. I think that's everything. Let me know if you have any questions about this! I'm gonna get back to sewing now so I can continue to prove to you that I still make things!
Happy Sewing,
Jenny
 I'd like to introduce the Sassy Scarf.......as modeled by Buddy the Bear.
 Ummm....I was home alone....and he was a willing model. Anyway, I'm going on a ski vacation to Telluride next week. And as I was packing up all my dark, boring, neutral cold weather ski clothes I decided that I needed something with a little more color. Something a little more fun. And the Sassy Scarf was born. It's sooooo quick and easy. So here's how to do it: You'll need 1/2 yd of your main fabric and 1/4 yd for the ruffle. Or you could get 3/4 yd each of 2 different fabrics and make coordinating scarves! One for you and one for a friend. Or one for a giant stuffed teddy bear.
 Trim off the selvage edge from both fabrics....
 Cut the main fabric in half lengthwise. You'll end up with 2 pieces that are each approximately 44" x 9". And I stress the word approximately. The 2 pieces only need to be the same size as each other. They don't have to be exactly 44" x 9".
 Cut 2 pieces from your Ruffle fabric that are approximately 4 1/2" x 16". Again, this is approximate. Don't you love it when you don't have to be so precise all the time!
 Now, sew the 2 long sides of the scarf together. That means the two sides that are 44" long. Oh, and right sides together, of course. But leave the 9" ends open. I used a 1/4" seam. Here's an action shot....
 Now it's off to the ironing board. Iron the seams nice and smooth. Then turn the scarf right side out and iron your scarf nice and flat. Now, do you see that 9" raw edge at the end of your scarf?
 Turn those ends towards the inside. About 1/2" inch. And iron it nice and smooth. Do this on both ends.
 And Eeeeek! Note to self: Get rid of ugly, old ironing board cover before you take pictures for a tutorial. Oooooh...maybe that should be my next tutorial - a Pretty Ironing Board Cover. Anyway, on to the next step. Take your pieces for the ruffle and fold the short ends (the 4 1/2" ones) in about 1/2" inch and iron.
 Now fold this piece in half lengthwise. Wrong sides together. And iron flat. You will now have a piece that is approximately 2 1/4" x 15". There will be one raw edge and 3 nicely ironed and folded edges. Do this for both ruffle pieces.
 Then, pause to take a picture of your adorable dog sleeping near the ironing board....
 Now, use your favorite method to ruffle about 1/4" to 3/8" from the raw edge. And if you have a ruffler attachment for your sewing machine now's the time to whip it out. You'll want to gather it up to be about 8 1/2" long.
 Now tuck the ruffled edge inside the nicely ironed and folded edge of the scarf. Slide it up about 1/2". Obviously, you want to hide your ruffling stitches inside the end of the scarf. Pin the ruffle in place. Do this on both ends, of course.
 Now, top-stitch all the way around the scarf using a matching thread. Yes, the short sides to hold the ruffle in place AND the long sides. And don't forget to put the matching thread in the bobbin! I went about 1/8" to 1/4" from the edge. Oh, and on the first one I sewed too close to the edge on the short side with the ruffle and missed the "back" side of the scarf. So you can learn from my mistake!
Now take goofy self portraits of yourself wearing your scarf. As I said before, I'm home alone so I gotta make do. Here's my Santorini Scarf....
 And my Pop Garden Scarf....
 And my Andalcuia Scarf....
 Oh, and I folded them in half lengthwise before I tied them around my neck. It helped them lay nice and flat. Now I have scarves to wear out to dinner and to Aprés-Ski. I won't be wearing these as I make a fool of myself attempting to ski - I need more rough-and-tumble clothes for that.
So, this was my first tutorial. I'm hoping I didn't forgot any crucial details - please let me know if I did!
I'm gonna go finish packing for my trip now.
Happy Sewing,
Jenny